The Looks...
 |
| Neutral Eye |
 |
| Dramatic Eye |
OK, one more time...Laura Mercier Baked Eye Colour in Black Karat! This baked shadow has been in several of my posts recently because of its versatility. Its a beautiful shade marbled with green, black, and gold. When applied dry, this shadow provides a sheer wash of subtle shimmer to the eye that is gorgeous for everyday wear. When applied wet, this shadow gives a striking metallic finish to the eye that I love for a night out.
For this tutorial I'm going to outline the steps I take and the products I use to transition my makeup from a natural, everyday eye look to a sparkly, dramatic night out look.
Though I am featuring the Laura Mercier Baked Eye Colour in this tutorial, these techniques can be used with any baked eye products to achieve these same effects!
The Products...
Clockwise From Left:
Laura Mercier Baked Eye Colour Wet/Dry in Black Karat
Milani Powder Eyeshadow in #01 White Lie
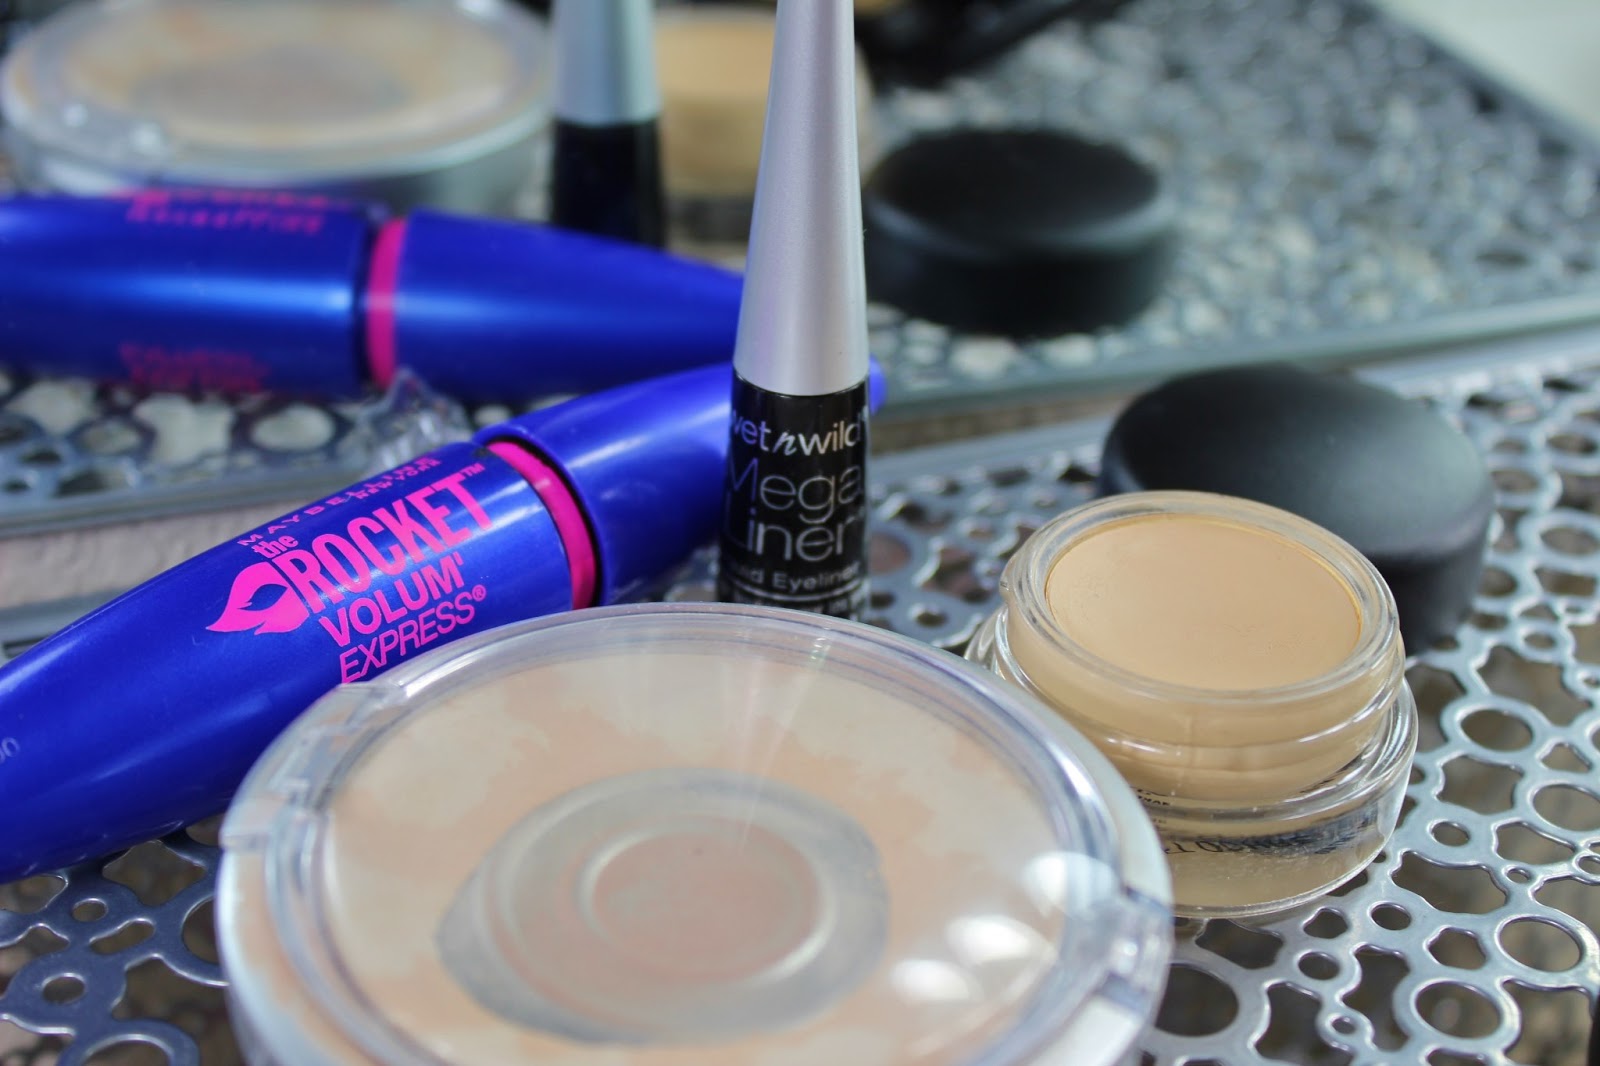
Maybelline The Rocket Volum' Express Mascara in Blackest Black
Maybelline Color Tattoo Metal Eyeshadow in #70 Barely Branded
NYX Super Skinny Eye Marker in #SSEM01 Carbon Black
NYX Eyeshadow in #ES04 Taupe
The Tools...
 |
| small fluffy brush, blending brush, flat synthetic brush, ELF Eyelash Curler |
From Left:
ELF Professional Defining Eye Brush- any small fluffy brush will work for this look.
Up & Up Crease Brush- any blending brush will work. This is one of my favorite blending brushes, and its only about $2 at Target stores.
Essence Of Beauty Conceal Brush- any flat synthetic brush will work. I prefer using a synthetic brush for this look (or any time I'm working with baked eye products) because it will give me a more opaque and even finish than a natural hair brush. If you do not have a synthetic brush, any flat eye shadow brush will work fine, you may just have to work a little harder to build up the color.
The Neutral Eye Tutorial...
 |
I have already applied my foundation, concealer, and primer to my eye. Using my finger, I smudged a shimmery champagne cream eye shadow from my lash line up to my brow bone. This will act as my base to help the eye shadow stick to my eye. This is especially important when working with dry baked shadows because they tend to have a lot of fall out.
(Ideally I would recommend applying your foundation and concealer after applying your eye makeup. I applied mine first just for this tutorial) |
 |
| Using a synthetic flat eye shadow brush, I pressed the dry Black Karat shadow onto my eyelids. Use a pressing motion rather than a sweeping motion to prevent fall out. |
 |
| I started with a thin layer of shadow and slowly added shadow until I reached my desired intensity. This shadow applies a sheer wash of shimmer to the eye but can be built up to an opaque color. |
 |
| I used a small blending brush to sweep a medium matte brown shadow along the edge of Black Karat and into my crease. This will blend out any harsh edges and make a more seamless and natural transition from my eyelid color to my brow bone. |
 |
| I applied a matte white eye shadow to my inner corner and under my brow bone. Using a matte shadow gives me a subtle highlighted look. |
 |
| Using the same small blending brush, I lightly blended out any harsh lines. |
 |
I applied black eye liner to my upper lash line. I used a fine felt tip eye liner pen to achieve a thin, precise line.
Check out my full eye liner tutorial here |
 |
| I curled my lashes and applied two coats of mascara to my upper and lower lashes. |
|
| Finished Neutral Eye Look |
Add These Products For A Dramatic Eye...
Clockwise From Left:
Laura Mercier Baked Eye Colour Wet/Dry in Black Karat
Sephora Waterproof Jumbo Liner in #22 Dark Taupe Shimmer
Urban Decay 24/7 Waterproof Liquid Eyeliner in Perversion
Revlon Precision Lash Adhesive
Ardell Professional Natural Lashes in 106 Black
NYX Eye Shadow in #ES71 Aloha
Essence Sparkling Effect Eye Shadow in #04 Black Goddess
The Tools...
 |
| flat eye shadow brush, fine crease brush, small angle brush |
From Left:
Up & Up Small Shade Brush (from Target)-small, dense, flat eye shadow brush
ELF Contour Brush-small, precise, crease brush. A pencil brush will work as well.
Sigma Small Angle E65- any small angle or smudge brush will work.
 |
1. I applied a few drops of water to the back of my hand and using the same synthetic flat eye shadow brush from the first part of the tutorial, I lightly dabbed the brush in the water until it was damp. I then lightly dabbed the damp brush into Black Karat and began to tap it onto my eye lid. I used tapping motion rather than a smearing motion to achieve opaque coverage on my eye. (not photographed)
2. Using a dry flat eye shadow brush, I tapped a small amount of dry eye shadow on top of the wet shadow. This will set the wet shadow and give me an opaque, sparkly eye look that will last all night. (photographed above) |
 |
| Again, I add the eye shadow in thin layers, building up to my desired intensity. This gives off a very sparkly, metallic effect on the eye...very pretty. |
 |
| Blend out any harsh lines. |
 |
| I applied a super shimmery champagne shade to my inner corner and under my brow bone. |
 |
| I applied a dark shimmery charcoal shade to my outer corner and into my crease to deepen the look. |
 |
| Lightly blend. |
 |
| I applied a little more of the Black Karat shadow to the inner one third of my eyelid to ensure an intense, metallic finish. |
 |
| I intensified my eye liner by creating a thick line and wing using a liquid liner. I like to use a liquid liner for a more dramatic winged liner look. |
 |
| I smudged a long-wearing taupe eye liner on my lower lash line. I like to use a brown or taupe eye liner on my lower lash line for a softer look. |
 |
| I smudged out my liner using the deep charcoal shade and a small angle brush. |
|
Finished Dramatic Eye Look
(minus the false lashes) |
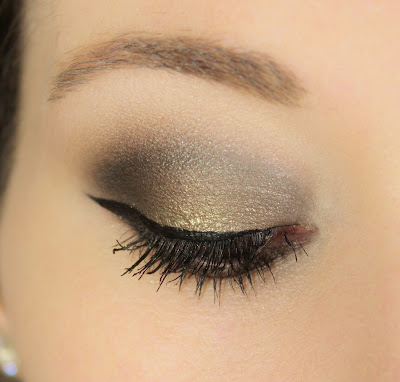 |
| Check out the full makeup look, complete with false lashes, and the products I used on the rest of my face in my recent Makeup Daily 4/11/2013 |
Thank you for taking time out of your day to have a peek at my blog!
Feel free to leave a comment below and talk makeup with me!