
Though I'm listing the specific products I used in this tutorial for those of you that are curious, these products can my substituted with ANY of your favorite products. Really...your favorite eye primer, concealer, shadows, liners...anything at all.
The key is how the products are layered...not the specific products used.
 |
| Wet n Wild Fergie Take on the Day Eyeshadow Primer Cover Girl Flamed Out Shadow Pencil in #335 Urban Decay 24/7 Glide-On Eye Pencil in Junkie |
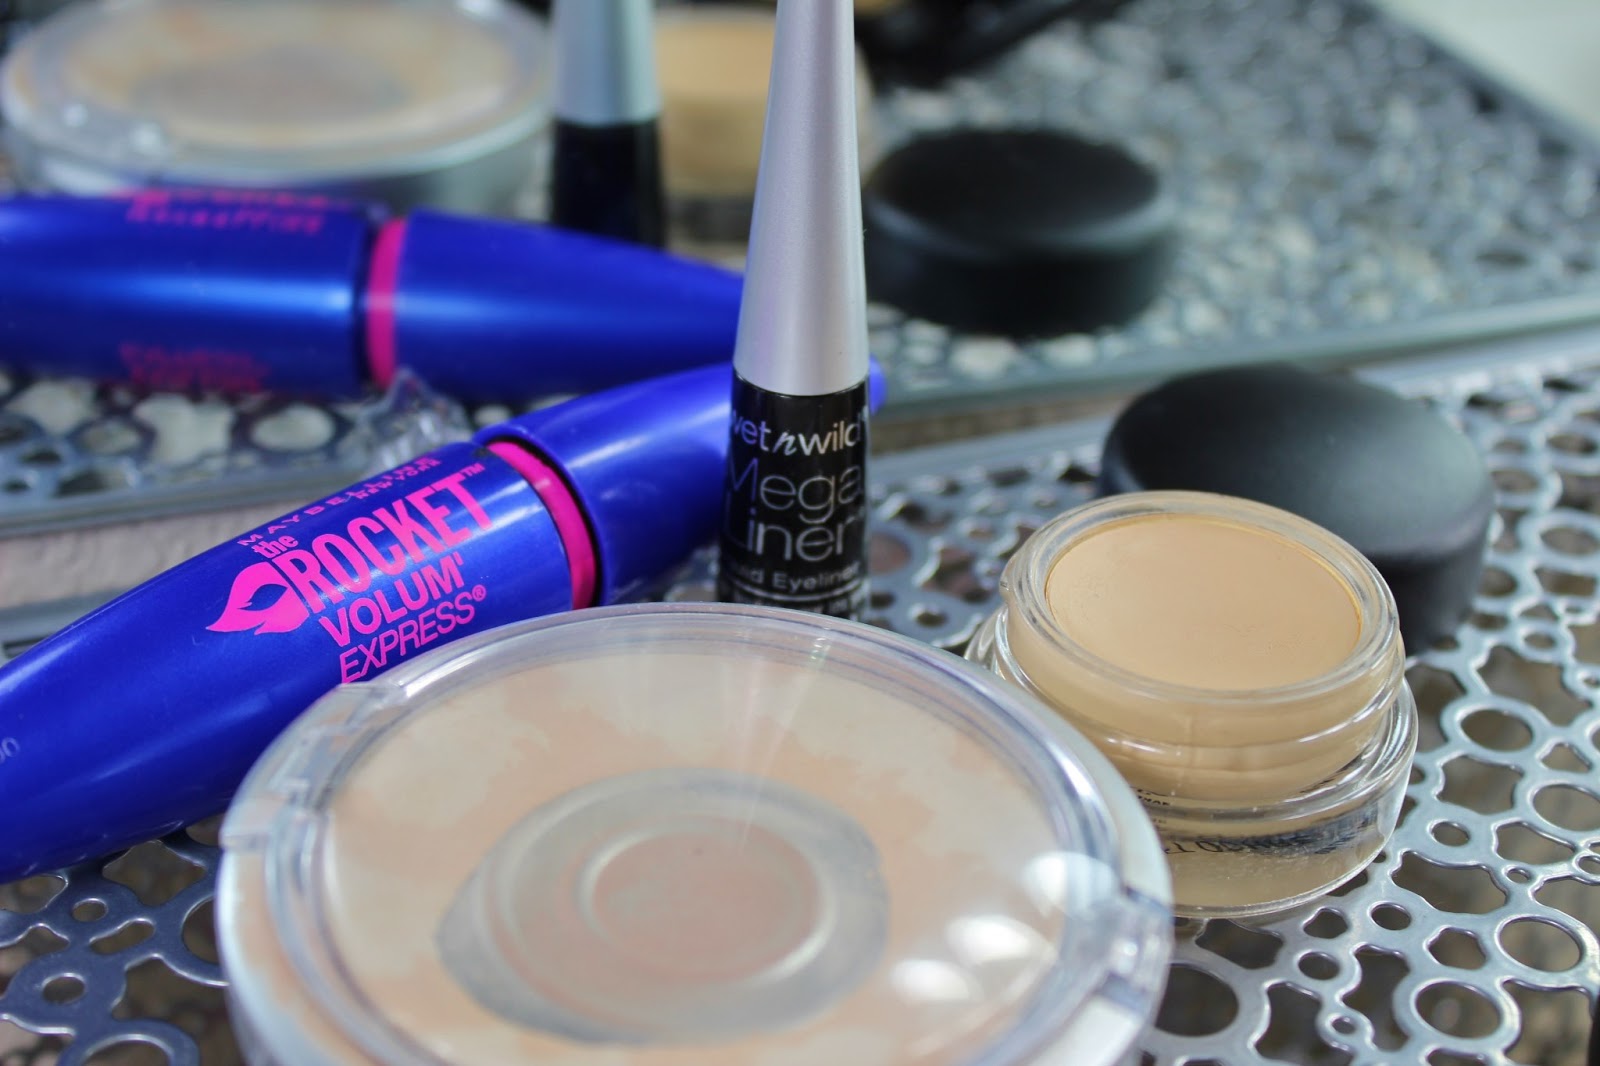 |
| Wet n Wild Mega Liner Liquid Eyeliner in #861 Black Maybelline The Rocket Volum' Express Mascara in black Physician's Formula Mineral Wear Mineral Face Powder in Translucent Light MAC Soft Ochre Paint Pot |
 |
| NYX Eyeshadow in #114 Oro NYX Eyeshadow in #145 Smokey Mountain |
Products Needed:
1. Eye Shadow Primer
2. Flesh-Toned Eye Shadow Base (a concealer can also be used for this step)
3. Flesh-Toned Powder (I used my everyday face powder for this step)
4. Cream Eye Shadow
5. Powder Eye Shadow
6. Long-Wear Liquid Eye Liner
7. Long-Wear Pencil Eye Liner
8. Mascara (waterproof formula optional)
The Tutorial...
 |
| First, I started with clean and moisturized skin. Yep, this is my eyelid in all its veiny, discolored glory. |
 |
| Apply an eye primer |
 |
| Blend the eye primer on the entire eye lid, up to the brow bone, and along the lower lash line |
 |
| Apply a neutral eye base to the entire eye area |
 |
| This cancels out any redness or discoloration |
 |
| Apply a flesh-toned powder to the eye lid to set the base. I usually just use my face powder for this step. I now have a "blank canvas" to work with |
 |
| Next, I apply a cream shadow to my entire eye lid. Any cream shadow will work for this step. I like applying a cream shadow to make my powder shadows more intense and vibrant |
 |
| I blend out any harsh edges with my finger. This step doesn't have to be perfect, we're going to top this with powder shadows anyway |
 |
| Roughly blended cream shadow |
 |
| Apply your powder eye shadow as you normally would |
 |
| Apply a long-wearing liquid eye liner to your upper lash line |
 |
| Apply a long-wearing pencil eye liner to the lower lash line. For this look, I added a fun pop of color by using a turquoise pencil eye liner |
 |
| I curl my lashes and apply two coats of mascara to my upper and lower lashes. If you're going to be in particularly hot weather, use a waterproof mascara on the upper lashes and skip mascara on the lower lashes all together. |
 |
| Finished Long-Wearing Look |

After 16 hours...


Bam! Told 'ya it was long-wearing!
FAB post! Loved all the photo's for step by step.. really useful. I so love the UD liners, they last forever don't they? xx
ReplyDeleteGemma | ♥ Miss Makeup Magpie
Thanks, I'm glad you found the tutorial helpful...LOVE UD liners...and they come in so many fun colors!
DeleteWoah it really lasted and stayed put , love it , I need to invest in a good eye primer , I currently just use powder but after a few hours it doesn't look so good. Great post love the step by step pics and the before and afters.
ReplyDeleteI'm so happy you enjoyed the post! I'd definitely recommend getting an eye primer, they make such a difference in how your eye makeup wears. They've even got a few great ones out in the drugstores right now! Thanks for having a peek at my post!
DeleteDang woman! I will be filing this in my brain, our hot sweaty weather in San Diego is just around the corner for us.
ReplyDeleteWhat a gorgeous, summery look! The weather has been sweltering here in Toronto, so I always appreciate helpful long-wearing tips. Great post! xo
ReplyDelete-Jen
www.vibrantbeautyblog.com
Wow, this is awesome! I love the step-by-step style of this post and appreciate the "before" so we can see what the makeup actually achieves. I commented on a mascara review that I wanted to see your "before" photo to see the difference it made, and I felt like such an idiot because I realized I could just check your archive, LOL. Keep doing what you're doing!
ReplyDeleteLOL! You're so funny but I totally get what you mean about the "before pics"...they really are helpful! I'm so glad you enjoyed the tutorial. Thanks for commenting and thank you so much for the support! -Sara
Delete